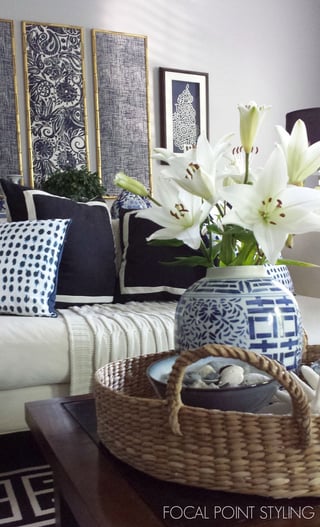
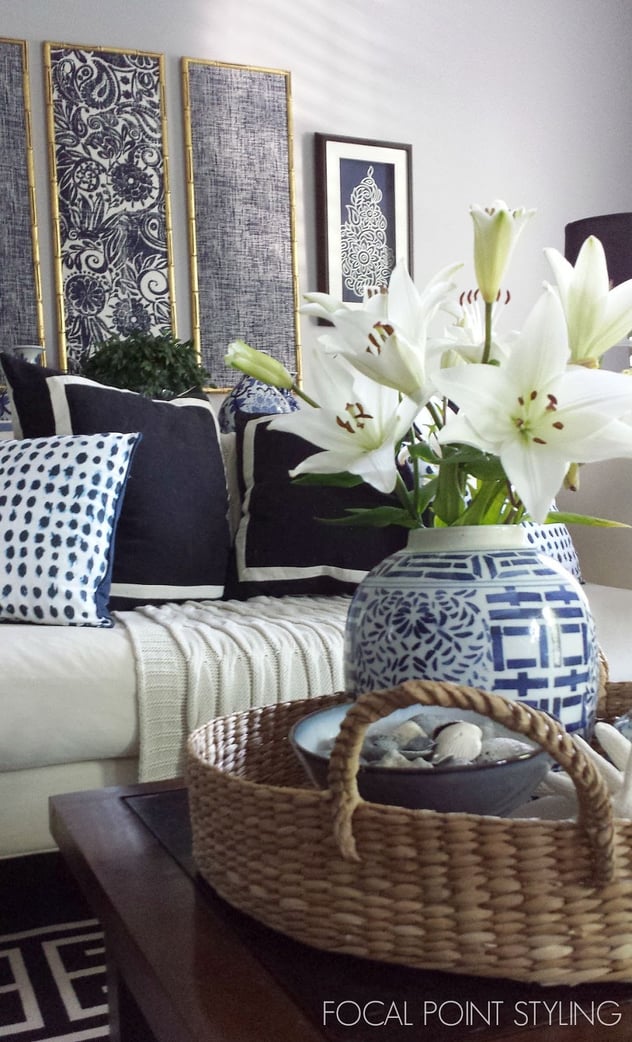
 Art is a commitment. A good piece will often cost you—and after all, it’s not every day that you find one that you absolutely fall in love with. For this reason, it’s no shock that many walls sit empty for far longer than a home dweller may have intended.
However, for those in the intermediary art-buying phase (or perhaps those just looking for something fun and inexpensive to spruce up the walls), this DIY may be the answer for you.
Framed fabric panels are extremely inexpensive, easy to put together, and fully customizable. Time to say so long to that empty white wall for good!
Materials
For this project, you'll need:
A staple gun
A stretched canvas (sold in art-supply stores)
Fabric, preferably heavy linen or cotton in a pattern without straight lines
Instructions
- Cut out a piece of the fabric that is four to six inches longer and wider than the frame.
- Place the material pattern-side down on your work surface, and center the canvas facedown on top of it.
- Staple the cloth to the back of the frame. Start by placing one staple in the center of the left side of the frame. Pull the fabric tight, then do the same on the right side.
- Continue stapling on opposite sides, keeping the fabric taut as you work out from the center toward the edges of the frame.
- Repeat on the top and bottom sides, and make neat hospital corners when you reach the edges.
And that’s a wrap! This piece art can easily be swapped when you find the piece of your dreams. & Don’t forget to let us know how you liked it with a comment below! (:
Photo credit: Focal Point Styling


.svg)
.jpg?width=83&name=30th%20Anniversary%20seal%20digital2%20(1).jpg)

